Snippets
Snippets are pre-configured code designed to be inserted into pages and modified in the editor by users.
Snippets in the editor do not appear the same as in Preview mode or in Production. It is best to view our Snippet Portfolio before inserting a snippet into a page to view how it will render in a website. Font Awesome Icons may be used for snippets requiring a different icon. Class Portfolio provides more details about the available classes and show how they render on the website.
Snippet Guidelines
- Save a version of the page before inserting a snippet.
- Use caution when deleting a snippet.
- Do not copy and paste content in snippets, type it.
- Do not insert styles or change formatting before saving a version
In the editor of a page, you can change the content within a snippet just like you would edit regular page content. Each snippet is organized somewhat differently and has different content areas you can edit.
- Immediately below edit tab of desired region where snippet is to be inserted, place cursor where it is to be inserted. Make sure the cursor is not within the yellow tab indicating where to place your content, instead it should be on the next line.
- Select the puzzle piece icon

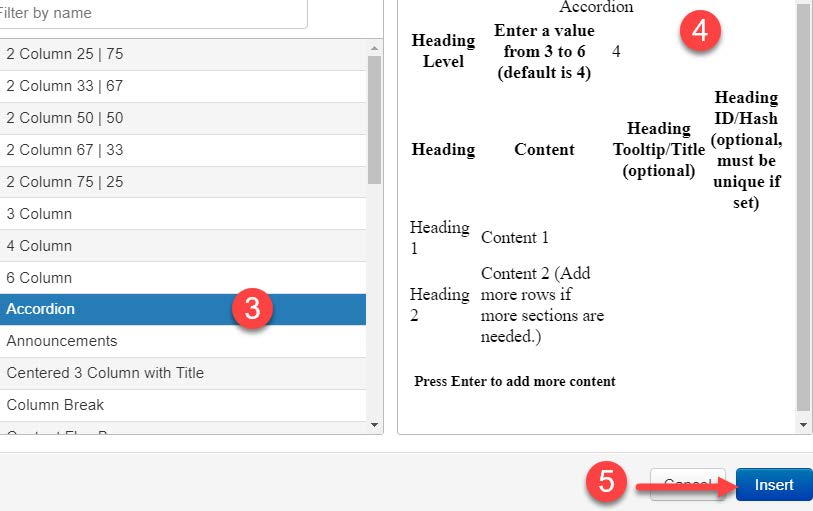
- Select a snippet from left column (#3), it will appear in right column (#4), then
Insert (#5).
- Start editing in the snippet or Save and Exit to view appearance in Preview mode to verify appearance/function is what you envisioned.
- Return to edit mode then edit content inside snippet.
- Save and Exit when done.
- Preview the page.
- Reduce browser window width to view it as small as possible to ensure the content still reads properly from left to right. Plus it displays exactly how it will render on a phone. If it does not look as expected at this screen size, go back into edit mode and correct it.