Images, Documents and Logos
Folders
Each account may differ where images and documents are stored for websites. Find out from your Account Administrator (AA) where to store your images and documents. If you want to create a folder but lack authorization to do so, consult with your AA for guidance.
Filename Naming Convention
- use lower case
- hyphens between words
- keep names brief but clear
- using an apostrophe is not allowed.
The recommendation is to only use the following characters:
- lowercase letters (a - z)
- numbers (0 - 9)
- hyphen (-) and period (.)
Add and Insert a File
Before uploading any images or documents, make sure you are in the correct folder to keep your website organized (e.g. images folder or document folder).
-
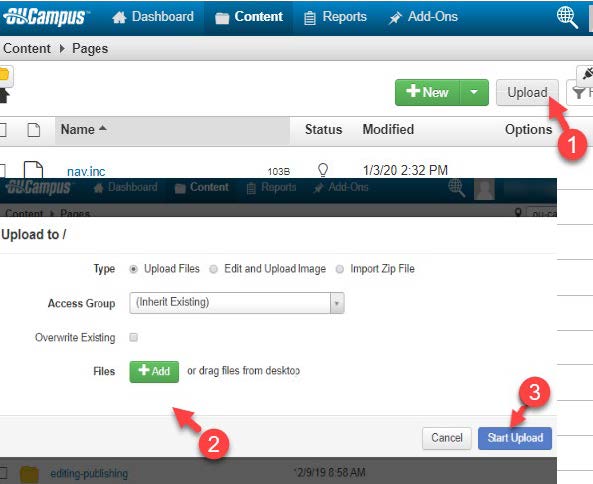
From: Page List View > Select Upload option; go to the correct area of the section before starting the upload (e.g. images or docs folder)
-
Select Add option, find image or document to be uploaded, select: Open.
-
Only after the filename appears, select: Start Upload.
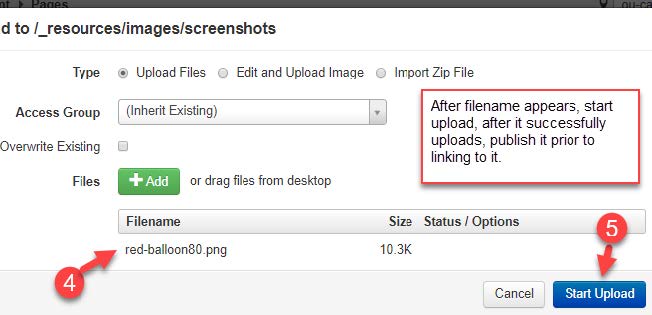
4. After upload is successful, publish the file.
5. Open the page where file (image, document, logo) is to be placed.
6. Place cursor where file should be inserted.
7. Select: Insert/edit Image, pop up window will appear, select file finder
icon, new window will appear.
8. Search for your image folder and navigate through the breadcrumbs, then
select image, then Insert.
Invalid File Name or File too Large?
If a message indicates invalid filename or it is too large:
- Cancel upload
- Rename the file from original source
- Upload it to OU Campus again
- Select: Start Upload.
- Publish it
- Publish page containing linked file.