Images
The SDSU Brand Portal's Photography page has guidelines for use of photos and links to several galleries of photographs which may be used on SDSU websites.
Uploading Images
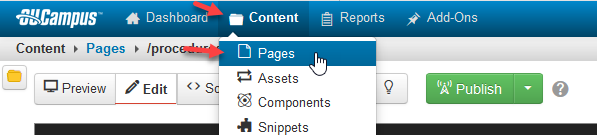
From the global navigation bar, select Content > Pages (from the drop down menu)
-
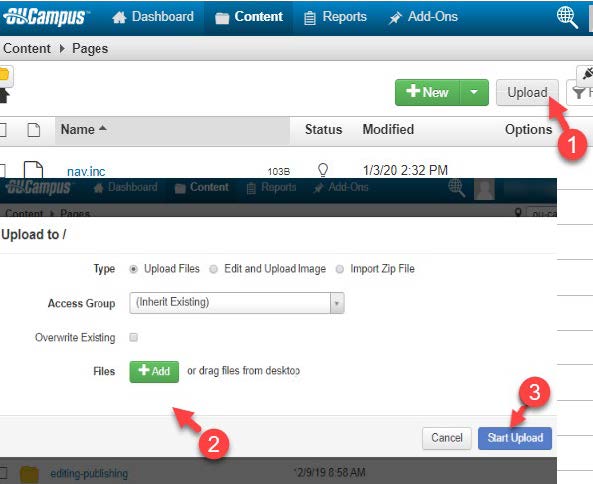
Find and open your image folder then select 'Upload' option.
-
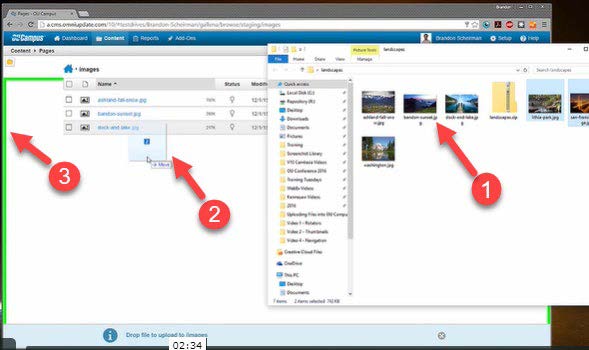
Use the Add button to open the file dialog, find the images on your computer then use the Open button to confirm the selection. (Some sites store images under /_resources/includes/images/, others may use /_images folders within each of the major sections of the site.) Alternatively, an image can be dragged and dropped from your desktop (either directly to the folder or into the Upload dialog
- Select: 'Start Upload'
- After image/document has uploaded, Publish it.
- If the uploaded file was not inserted into the appropriate (e.g. image, doc) folder,
move it by
- mousing over the image or document file,
- select: File > Move
- select the directory it should be moved to,
- confirm the Move operation.
If the page is published without the image/document being published first, the page may reflect a broken image or 404 error for the unpublished image/document. It is a good practice to publish uploaded files immediately after uploading them for this reason. Don't forget to publish the page the uploaded image or document was added to, upon its completion.