Forms are created through Assets then inserted in a page.
Create a Form
Log into the account where the form will reside.
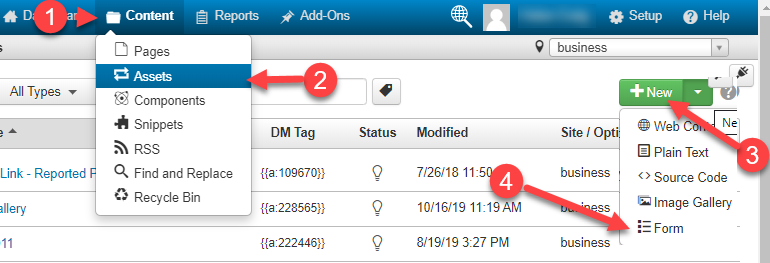
- In the main navigation, select Content > Assets from the drop down menu.
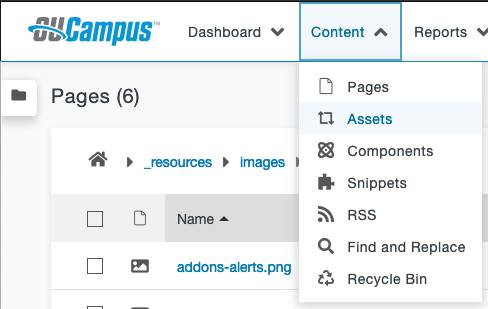
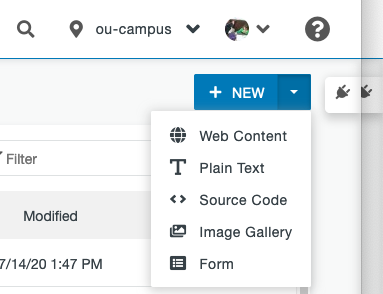
- On the Assets page, use the New button and select Form.
-
Asset Info
- Name - although forms are usually site-specific, it is still recommended to start the form's name with the name of the target site (e.g. police - bicycle registration). This will allow the form to be grouped with other assets for the target site in the unfiltered list.
- Description (optional) - provide more information for users to determine whether this is the form they are looking for.
- Tags (optional) - Tags may be used to filter the Assets list.
- Lock to site (default is yes and can't be changed for forms).
-
Access Settings
- Select the Access Group (the group of users which can edit the form).
- Select a group from the Available To dropdown (the group of users which can add this form to a page).
-
Elements
- Single-Line Text Field
- Multi-Line Text Field
- Radio Buttons
- Checkboxes
- Drop-Down
- Multi-Select
- Date/Time Picker
- Instructional Text
-
Email Messages
In the Email Messages section:
- Use the + Add button to add an email to the form, then add the following information:
- To: (email address(es) to receive the message)
- From: (email address to send the message (must pass email validation, or the message will not be sent)
- Subject:
- Body:
- Include all submitted values (optional). If this box is checked all submitted values will be appended after the Body text.
Note: all of the fields for the email allow the use of double curly braces surrounding the name of a form field as a placeholder for submitted information from the form. For example, if the form includes a field for the user's email address named "email", placing {{email}} in the From: field will use the submitted email address for the email's sender (so a reply will go back to the submitted email address).
-
Form Settings
- Success Message: select whether to use a success message (Text) or URL Redirect, then add the message or desired URL.
- Failure Message: write the message displayed to the person completing the form if the submission fails (due to validation or other errors).
- Save Results in Database: (enabled by default). It is recommended to leave this enabled even if forms are sent via email, as it can be helpful when testing email issues.
- Advanced
- Select > Create button (located at the bottom right - otherwise it will not be saved)
- Insert the form asset in intended page:
- Open the page where the form was intended to live
- Select the Edit tab in the region where it will be inserted.
- Select the Asset icon
 then a new window will open, select the form then Insert (if you don't see the Insert
button to the bottom right, the F11 key will make it appear on a PC).
then a new window will open, select the form then Insert (if you don't see the Insert
button to the bottom right, the F11 key will make it appear on a PC). - The name of the asset will appear on the page, not the form itself. Save and Exit
to view the form itself. When editing is complete on the page, go through the final
steps before publishing it:
- Preview the page
- Shrink the browser to phone size (to ensure it maintained responsive design)
- Run a Page Check (either fix the issues or contact your account administrator for assistance)
- After the page passes all of the test, Publish it.
Export CSV Format
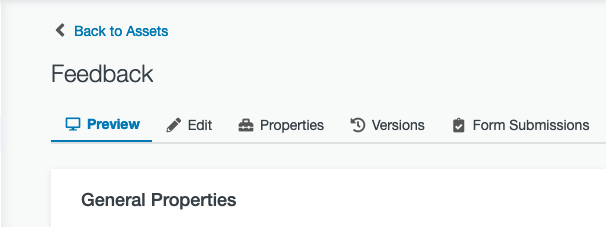
A Form Submissions button is included next to the form asset's Preview / Edit / Properties / Versions buttons. In OU Campus v11, depending on the current width of the browser window, some options may be listed under a "More" dropdown.
On the Form Submissions page, there is a button to Export CSV. The other alternative is to format the data in the email in whatever fashion is convenient for your needs.