- Create New Alert
- Active Alert
- Archived Alerts
- Limit Alerts to Single Page
- Social Media
- Remove Default Alert Date
Create a New Alert
- Go to the account/website where alert is to be posted (e.g. www site in the sdsu account)
- In the footer, select: Last Updated MM/DD/YY
- Sign in with SDSUid credential
- Hover over Add-Ons located in global navigation bar (blue ribbon near top)
- Select Emergency Alerts.

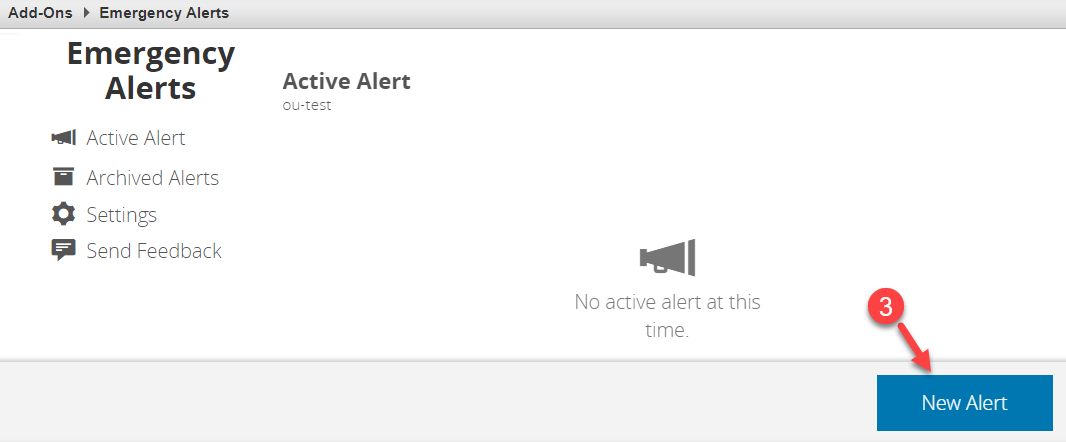
- Select New Alert button at the bottom right side of page.

- In the new alert dialog:
- For Severity select the type:
Announcement (e.g. isolated flooding, partial power outage, etc.),
Warning (e.g. fire near campus or severe weather nearby, etc.), or
Emergency (e.g. fire evacuation or lockdown, etc.).
Images of each type can be found after these directions. - Provide Title – If it’s a warning or emergency make it concise (maximum of 128 characters).
- Subtitle is optional, a maximum of 30,000 characters.
- Description: Provide information about event or emergency.
- Date and Time: Use Current Date and Time (default) or Custom to modify date and time.
- URL is optional. If URL is added; http(s) is required (system will indicate URL field
for correction if http(s) was omitted).
This field is used for directing audience to secondary information. Max. 30,000 characters - Publish activates the alert and the message appears in the Active Alert screen. Verify on the website (e.g. https://www.sdsu.edu) the message appears as expected (it may take a few seconds to appear).
- For Severity select the type:
Example of an Announcement Alert

The message will return 60 minutes later if the user dismisses it with the "Close" button.
Example of a Warning Alert

The message will return 30 minutes later if the user dismisses it with the "Close" button.
Example of an Emergency Alert

This is an IMMEDIATE THREAT! Message remains prominently on the website until it is archived or deleted. The user must dismiss the message (using the X at the top-right of the message) to view the content on each page.